

Making the first video for your business can be a daunting task.
Firstly, you have no idea what to do, and how to start, you hate what you look like on camera and feel like you haven’t got anything to say.
YOU ARE SO WRONG!
Making videos is now easier than it’s ever been for lots of reasons, like improvements in internet connectivity meaning that videos are easier to view and share, improvements in technology and storage meaning that video is easier than ever to shoot, HD and memory cards are cheaper, and improvements in the tools required means that making a business video no longer needs a Hollywood-style budget.
If you are a startup or an SME which doesn’t have any video at all within your marketing efforts, here are eight top tips you can use today to turn your videos from awkward selfies into professional looking productions.
-
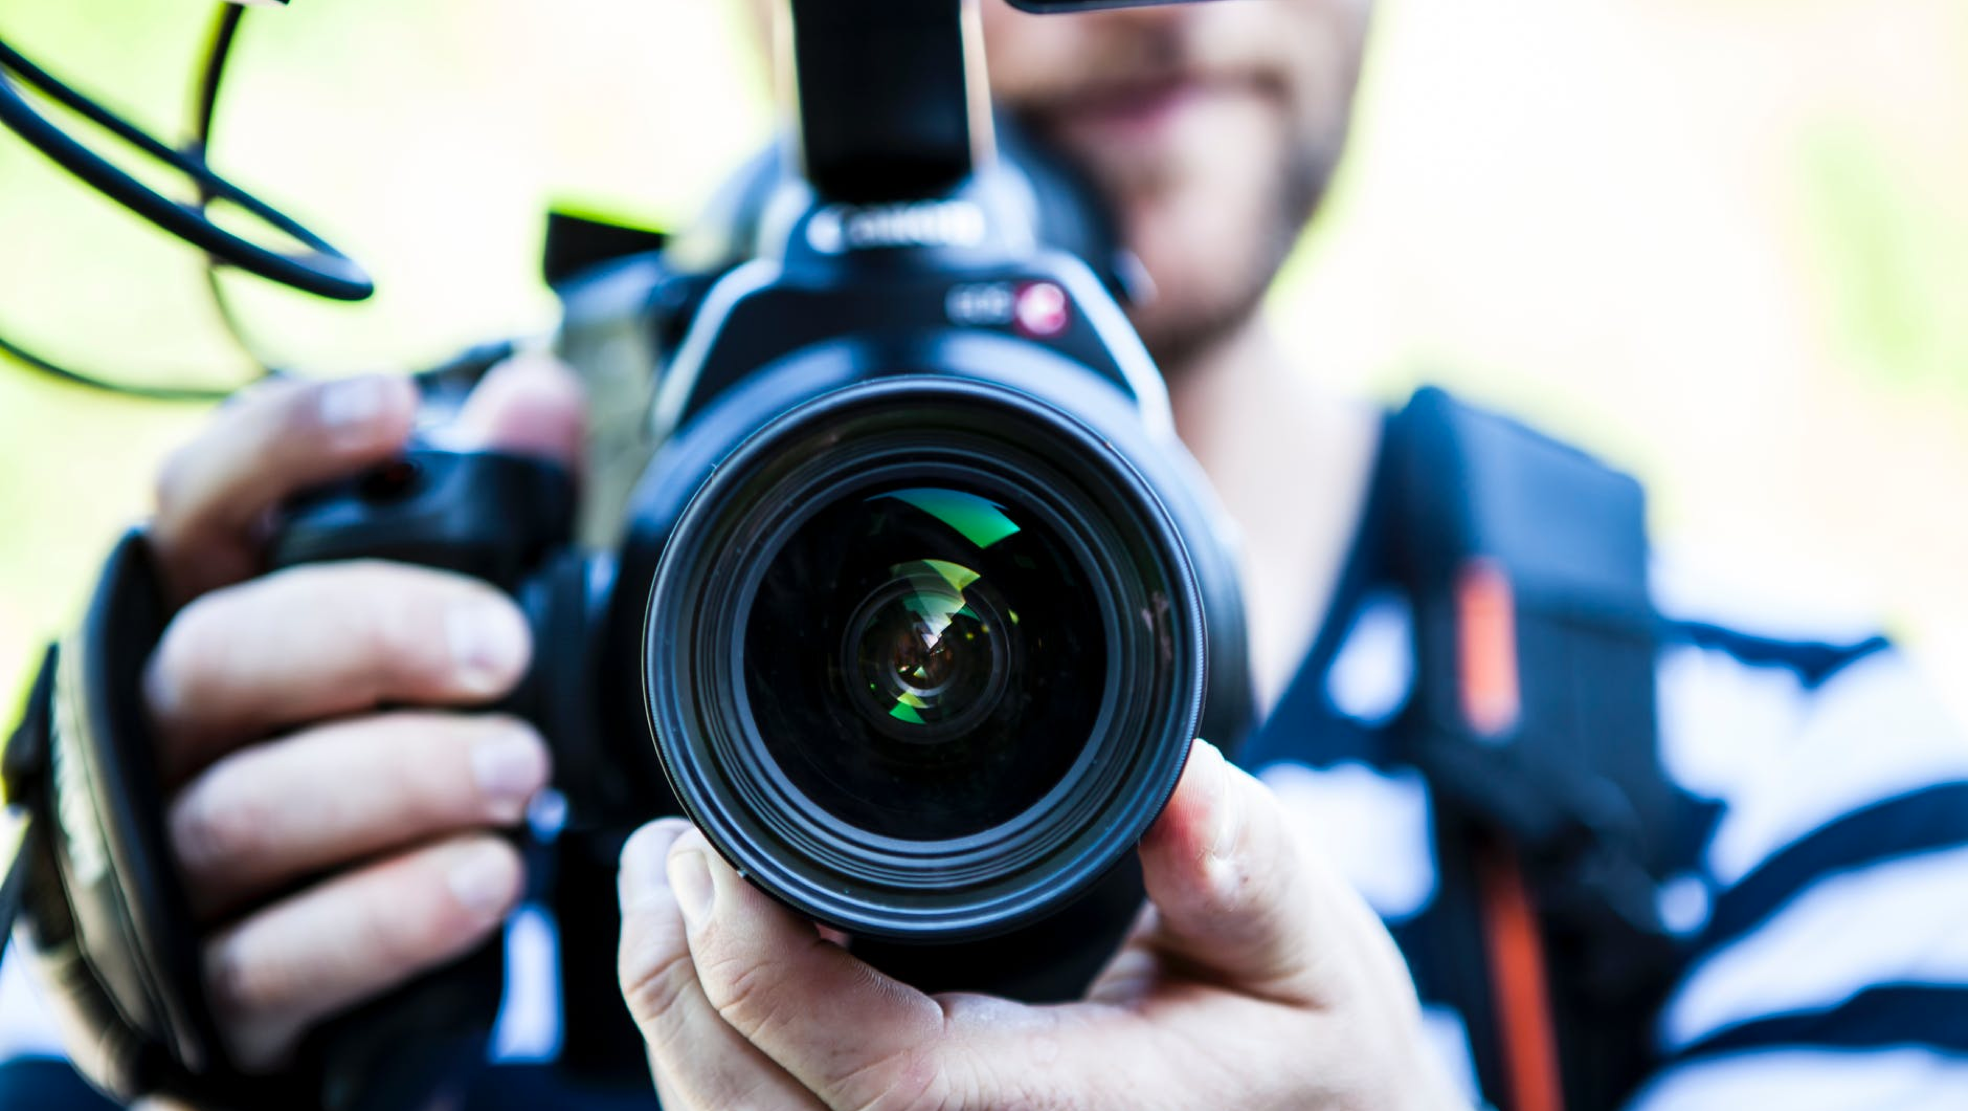
You can use your iPhone
No you don’t need to go out and spend hundreds of pounds on a new camera. The cameras on the new iPhones are fantastic in terms of quality, and how easy they are to use.
Everyone knows how to use an iPhone, so don’t complicate things. In addition, they are linked to all of your social channels, so your video is just a few clicks away from being live on the web.

-
Grid Lines – the rule of thirds
You know the way that professional photography or video usually has the main subject just off centre?
Using the rule of thirds means that the main subject of the video isn’t in the middle of the show, which is how many modern producers shoot videos. Instead, the focal part of the video should be off to one side. Using the rule of thirds draws the viewer's eye into the composition, rather than just glancing at the centre of the screen - the gridlines can be turned on within your iPhone settings.
Take a look at this HubSpot video below for a great example!
-
Get hold of a Lavalier Microphone (lav mic)
The sound on iPhones is good, but often will cause issues because it picks up all ambient noise, so your message to camera can be drowned out easily by noises off. Poor quality sound will be a turnoff for your viewers, but try investing in a £10 lapel or tie-clip microphone will transform how you sound.
These “lav mics” are inexpensive and really easy to use, they simply plug into the headphone jack on your iPhone, and clip onto the clothing of the person being recorded. Best yet, you can rarely see them being used (as shown below), but they will massively improve sound quality.

-
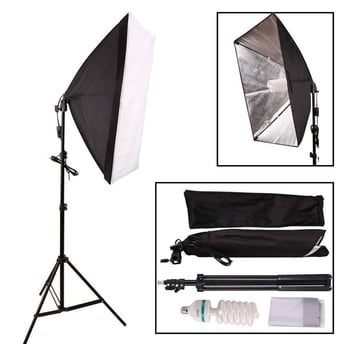
Lighting
Think about lighting. Are you in a dark room? Are you in sunshine? Where’s the nearest light source?
Just like sound, the light within your video can make or break it. When planning to shoot, understand your location and where you’ll be filming. If you’re outside, try and understand where the sun rises, and if you’re inside, work out what sort of light the room gets and what times of the day. Remember that light bounces off objects, so don’t put a bright light behind your focus (i.e. behind the person you're interviewing).
Thinking of professional equipment? You can purchase the below lighting softboxes for as little as £30.00 from Amazon - properly used, they provide shadow free consistent lighting for your video, or for your photography.
-
Tripod or Gorrilapod
Always try to use some sort of anchor for your camera, small movements of a handheld camera does not help the professional look and feel of your video. The simplest way to manage this is a tripod which can be fixed to your iPhone via a phone mount or clamp. The alternative is a gorillapod which articulates to enable you to fix the tripod to something else, e.g. a tree, lamp post or separate structure.
Most professionals would use a camera cage - this is the kind of frame that sits around your iPhone which is clamped into the cage/frame and enables you to move a camera much more smoothly which less ‘wobble’. These tend to be more expensive but do provide you with a more professional look and feel.
There are even now some low cost camera stabilisers available - ‘Steadycams’. These tend to be the type of thing that you see outside broadcast camera men wearing but these are rapidly coming down in price and becoming affordable. Here’s one we found for less than £30.00!

-
Video Software
Brilliant, you have shot your video, but there’s plenty you still need to do. You’re going to need to cut out some of the unnecessary elements and you need to bring in some title pages as well as an intro and outro.
That is difficult to do on an iPhone app unless you are an absolute pro. However, there is Movie Maker or iMovie.
These two tools are brilliant, they freely allow you to cut videos, insert titles, introduce transitions between shots, edit and enhance sound, as well as overlay the video with an image or similar whilst the sound is still playing. These free products are easy to download and very intuitive to use.

-
Intro and outro
You know that professional videos start with the company logo wizzing into the page, doing some sort of cool animation before coming to a halt and smoothly transitioning into the footage that has been filmed. Historically this would have cost a company thousands of pounds to put together, but it no longer has to.
Sites like PeoplePerHour provide an array of low cost crowd-sourced resources. Here there are
plenty of video animators who can animate your logo or company brand to create a really cool intro or outro to your videos. It’s amazing how much more professional your video’s feel with this little inclusion.
As an example we had this little animation of one of our company logos created for just £100.00 to add a little ‘zing’ to our company videos.
-
Don’t wait for perfect
Once you start filming your first video, you may get lucky and find you’ve got a video presenter inhouse who is an undiscovered talent!
If you’re like some of the guys I’ve worked with, they forget everything they have rehearsed as soon as you bring a camera into their near vicinity.
But, don’t despair, persevere.
Use cue cards - in their simplest form a flip chart page or just a piece of paper with bullet point notes on it held just off camera - usually just above the camera is best allows your presenter to get some help in remember what he or she needs to say.
Give them a couple of goes and you’ll soon see the improvements. But, don’t get too hung up on the details. It doesn’t have to be BBC News quality. It’s better just to be natural and real. There are plenty of videos to choose from on the web, personally, I’d rather see somebody talking to me sensibly with clarity and honesty, than a stilted, but pompous and word perfect monologue.
Not everything has to be 100% perfect, a few ‘ummms’ and ‘errrs’ don’t matter, keep it natural, and talk to the camera.
You are going to be great, just get out there and try it.

Submit a Comment